
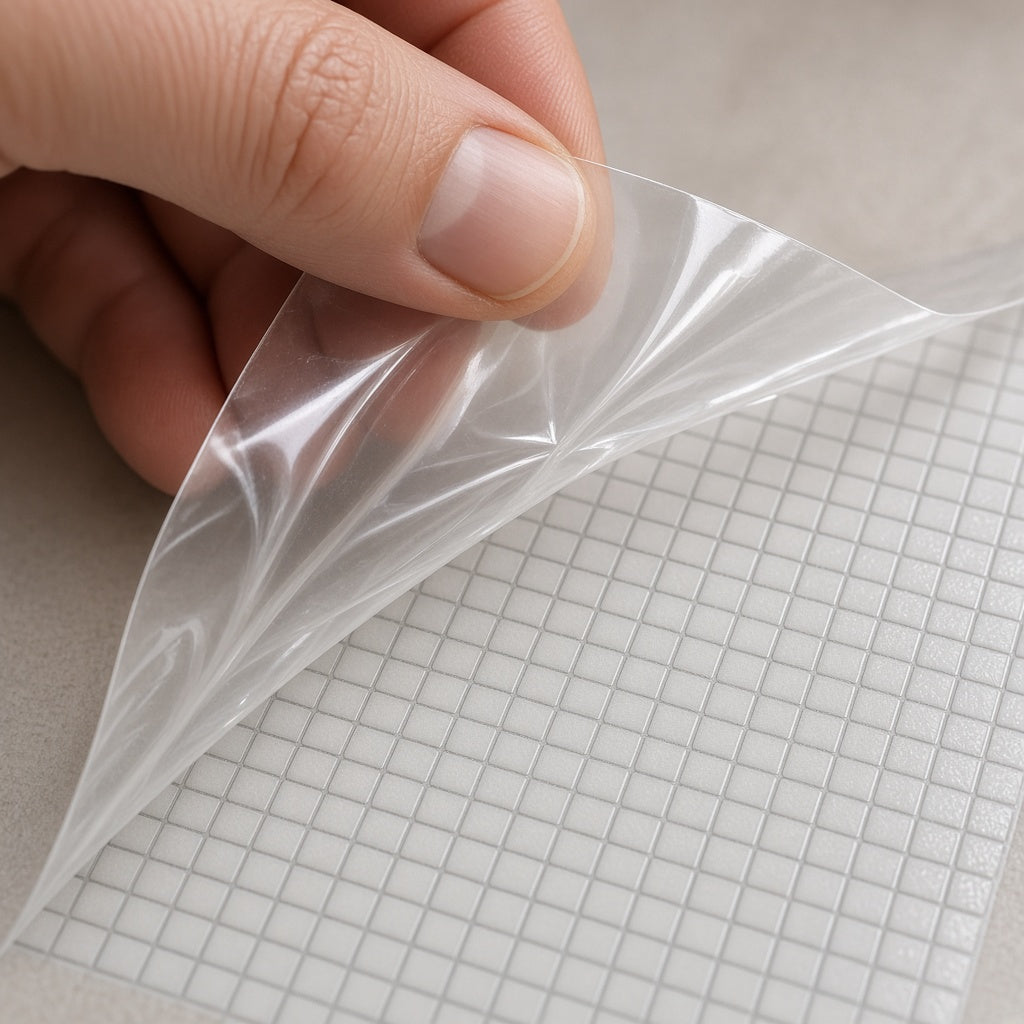
Prepare your canvas
Peel back a small section of the protective film to reveal the pre-glued area.

Everything you need to know to start creating something beautiful.
Shop Diamond Painting Kits
Diamond painting is a relaxing craft where you place small colored resin diamonds (drills) onto a self-adhesive canvas, following a printed color-coded grid to build a sparkling piece of art.
It’s a bit like a puzzle: the technique is easy to learn, and the main ingredient is patience as your artwork comes together.


Follow these simple steps to complete your first diamond painting:
Peel back a small section of the protective film to reveal the pre-glued area.
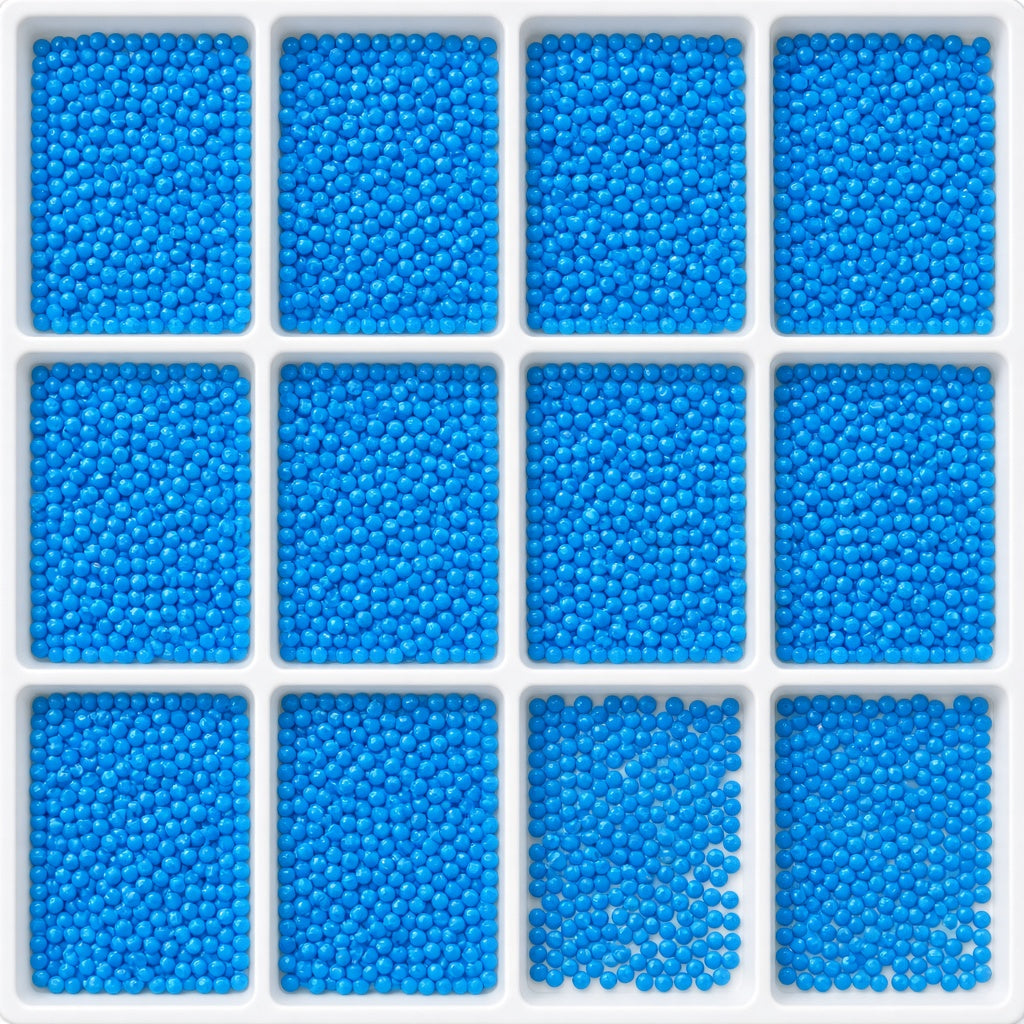
Check the color on your pattern, then open the matching diamond bag.
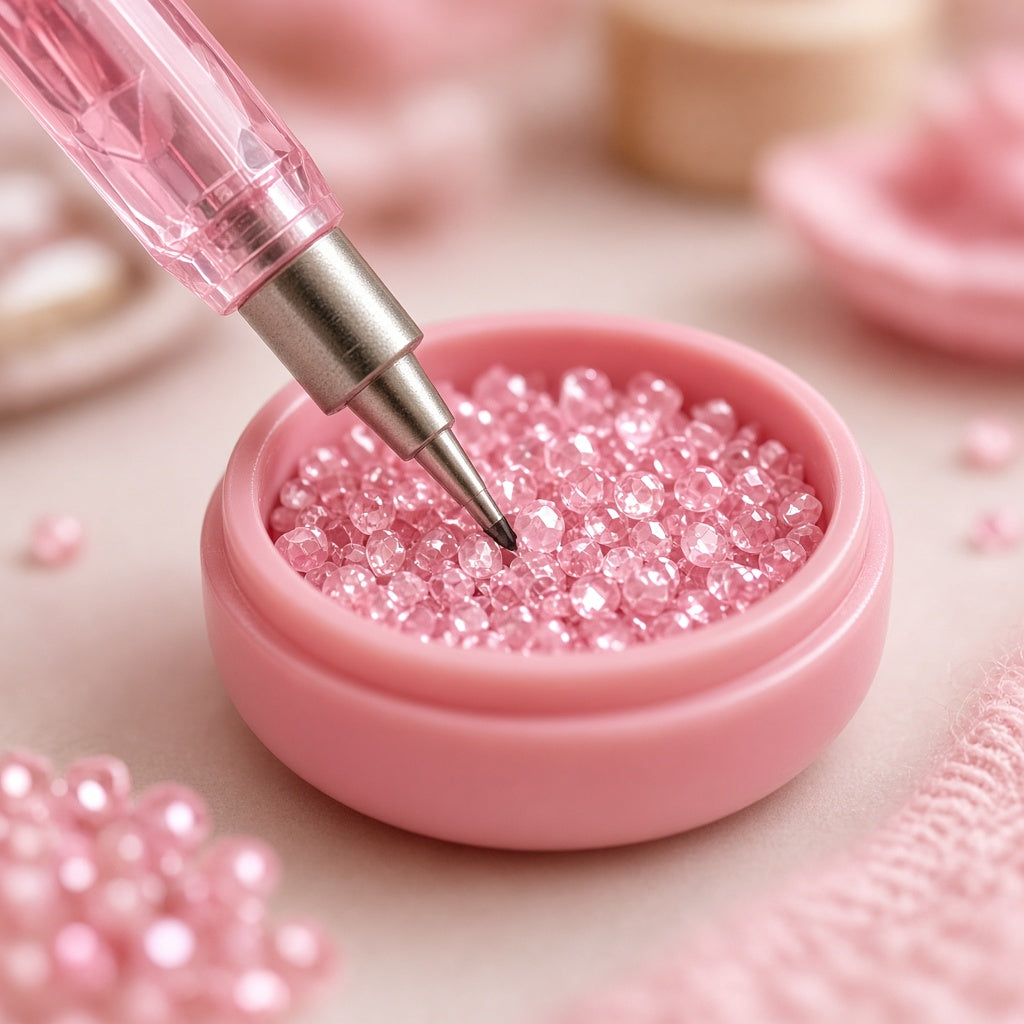
Use the pink wax to create a lightly sticky tip on your applicator pen so drills pick up easily.
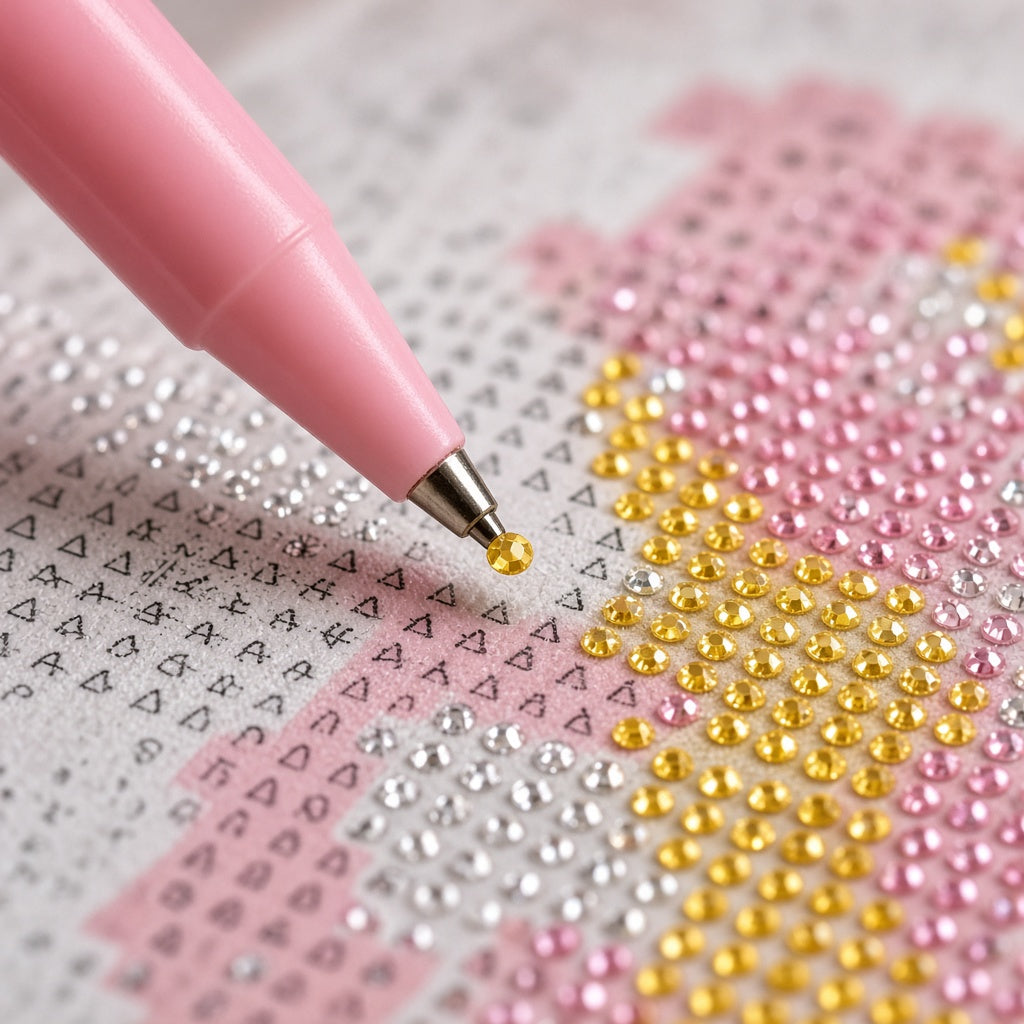
Pick up a drill and place it on the matching adhesive spot. Continue section by section.
Beginner Tip:
Always work from one side of your project and move across the canvas as you go. Expose only a small area of adhesive at a time so it stays clean and the drills hold firmly.
In diamond painting, a “drill” is simply the shape of each diamond you place on the canvas. Both shapes look beautiful — here’s how they compare:


Which should you choose?
There’s no single right answer — it comes down to personal preference. If you’re new to diamond painting, round drills are a great place to start. If you want a fuller mosaic look (especially on larger canvases), try square drills. In one crafter poll shared on our guide, square was preferred 383 to 87 over round.

Explore our diamond painting kits and find a design you’ll love today.


